Hammermills are useful machines They have been used for decades across industries such as agriculture, construction, recycling, and food processing. These machines are used for pulverising, crushing, and grinding materials down to a specified size.
Whether you use your hammermill to cut feed for your livestock or mill material such as maize, your machine needs to be taken care of. General maintenance is a vital part of ensuring your equipment works optimally. If your hammermill’s hammers, blades, or fans are worn down, the machine will not cut the material effectively and it may slow down production.
Here are some common maintenance tasks you can do to keep your mill working as it should.
First, you need to determine which generation mill you have. There are three generations: Old -, middle- and new-generation models. Look at the rotor and blower to determine this.
Rotors
- First generation.
- Middle generation.
- New generation.
Blowers
1. Change the hammers
First, Drotsky hammers come in two sizes: short (part 16152) and long (part 24152)
Short hammers are 19cm in length and come in a set of 4. Long hammers are 24cm in length and are 6 in a set. Old Generation Rotor used 6 hammers (24152 with 24143 pins) Middle Generation Rotor used 4 hammers (16152 with 24140 short pins) New Generation Rotor used 8 hammers (2 x 16152 with 24142 long pins).
Hammers attach with hammer pins (24142).
To replace the hammers you will need the following tools:
- 17 mm socket wrench
- 17 mm spanner.
- New hammers.
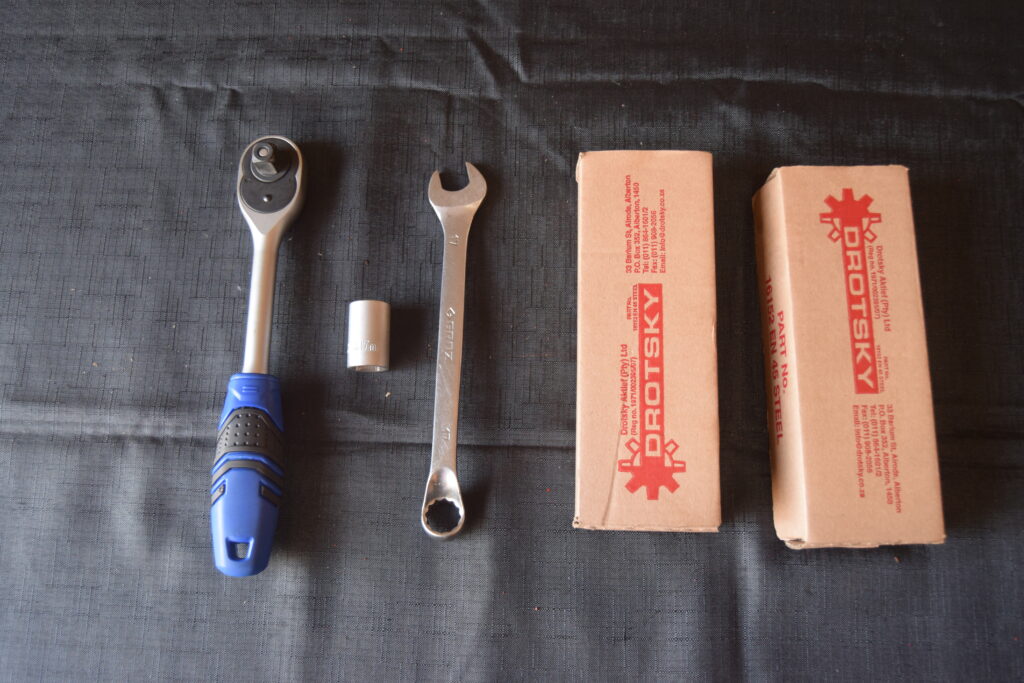
17 mm socket wrench and a 17 mm spanner. New hammers. For the demonstration in the video below, two boxes of short hammers are used.
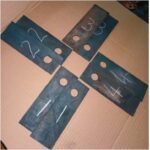
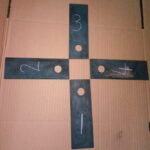
To determine which hammers you need, check if you have a Round Rotor or Cross Rotor. The Round Rotor use 6 hammers whereas the Cross Rotor use 4 or 8 hammers. On the machine we use for the demonstration, has a Cross Rotor with 8 hammers, meaning that we need to use small hammers. Take note that the hammers are balanced in pairs. Start by unboxing your 1st set of hammers. Mark it 1, 2, 3, 4, then repeat with box 2. The hammers need to remain balanced all around the rotor.
Remove the rotor disc from the machine.
Unscrew the first set of hammers on your rotor disc.
Remove the pin and slide the worn-down hammers and spacer from the pin. Place the new hammers in position. Take care to place the spacer between the two hammers when sliding the pin back on and securing the bolt onto the rotor disc.
Spacers help to ensure that the hammers remain in place to cut all the materials evenly, and that hammers do not hit each other. Note that every second set of hammers on the rotor disc has different spacing than the previous. Ensure you retain this pattern when replacing hammers.
Repeat the process on the next set of hammers until all hammers have been replaced.
Finally, screw the rotor disc back onto the machine.
2. Shredder/Ripper bar
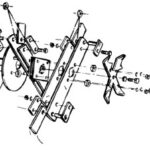
Since Drotsky have been in business for so long, their hammermills have either new-generation – or old-generation shredder. Old-generation is called a Ripper Bar – metal blades welded onto a cross-shaped piece of steel.
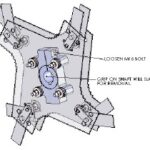
New generation is called a shredder and have harvester blades that are mounted onto a disk. The individual blades are mounted on the disk in a formation that provides your Drotsky mill with the most efficient cutting capabilities. There are 13 replaceable blades on the new generation M24/M36 mounting and 7 on the M16.
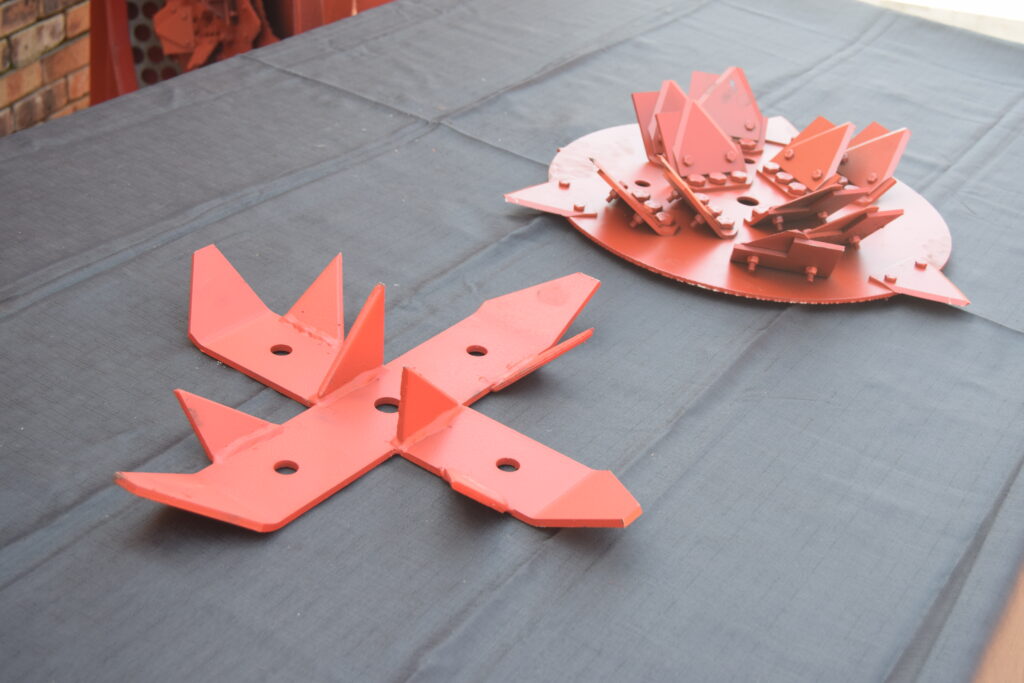
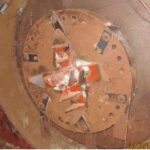
Old-generation blades are metal blades welded onto a cross-shaped piece of steel. New generation blades are harvester blades that are mounted onto a disk.
The good news is that you can upgrade your mill by using the new shredder as it was designed to fit onto older generation machines perfectly. If not, you can still obtain the Ripper Bar from Drotsky
3. Blowers
Blowers are angled plates behind the screen blowing the material into the shaft before it exits the machine.
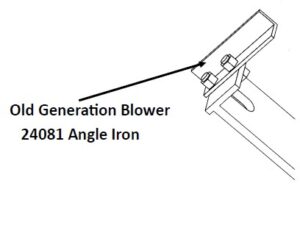
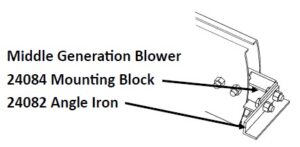
Drotsky has old and new-generation blowers available for hammermills. The old version is a piece of angle iron bolted to a specialised piece of steel.
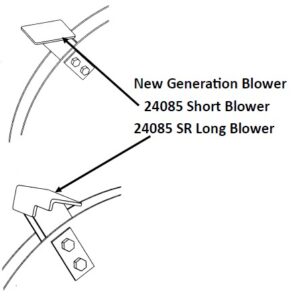
New versions are more streamlined, showcasing a curved plate of steel with reduced wind resistance.
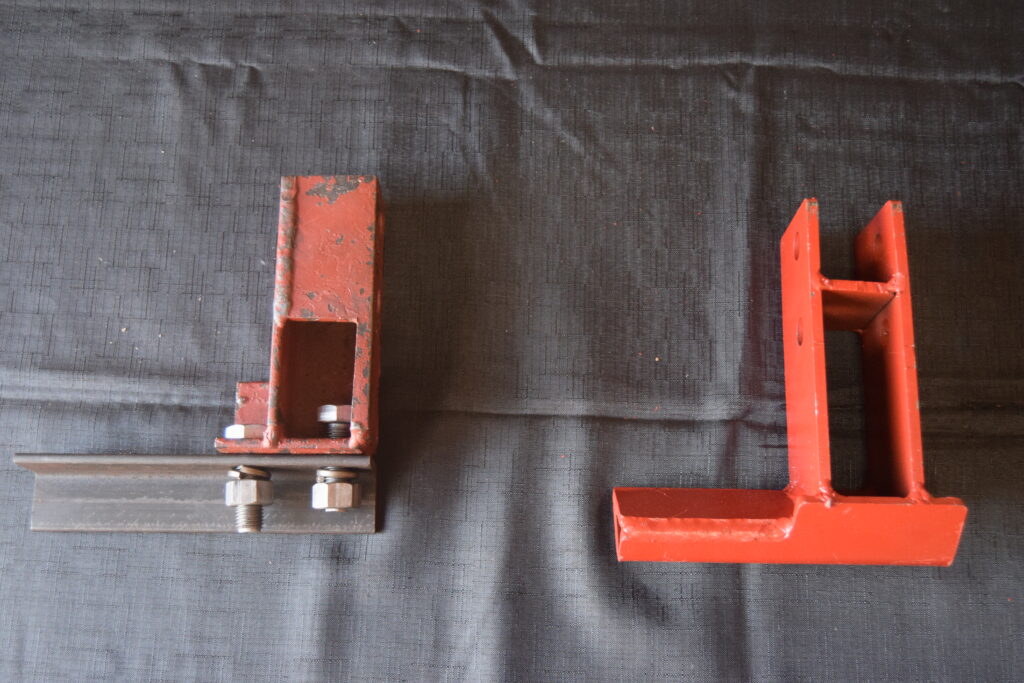
Drotsky has old and new generation blowers available for hammermills. The old version is a piece of angle iron bolted to a specialised piece of steel. New versions are more streamlined, showcasing a curved plate of steel with reduced wind resistance.
These new versions are available in left-handed or right-handed blades. This is important because not all machines have motors that rotate in the same direction. Make sure you use the correct blower on the correct machine. Make sure you use the correct blower on the correct machine.
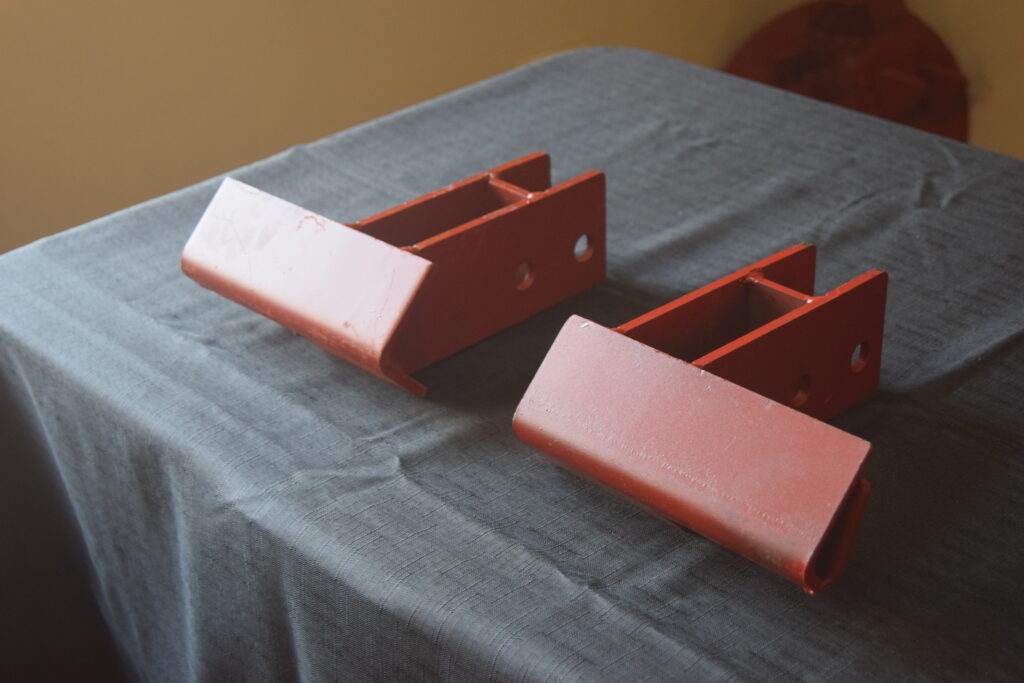
These new versions are available in left-handed or right-handed blades.
Drotsky has two kinds of blowers, long (24085 SR / 24085 SL) and short (24085).
To replace the blowers, you will need:
- 17 mm socket wrench
- 17 mm spanner.
Identify the small cover plate on the back plate behind the rotor. Unscrew the two bolts to open it.
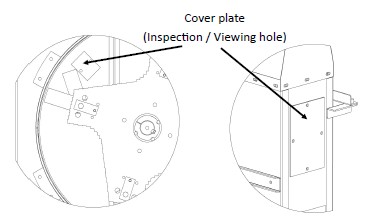
Move to the side of the machine. Find the cover plate for the viewing hole that you need to open. Unscrew it.
Turn the rotor manually until two screws line up with the small cover plate in the front of the machine.
Use your hands through the viewing hole to keep the blower steady as a second person unscrews the bolts through the front of the machine. You will feel the blower starting to separate from the rotor.
Replace the old blower and screw the new one on. Repeat the steps for the second blower.
Take note that the blowers are balanced in a set of 2. Replace the old blower and screw the new one on. Repeat the steps for the second blower. Keeping in mind to place blower 1 & 2 opposite (like 12h00 and the other 6h00) each other, repeating box 2 (blower 3 & 4 will then be 3h00 and 9h00 opposite each other).
Remember to close all plates when you are done.
For a step-by-step visual guide, watch the Drotsky: troubleshooting playlist on our YouTube Channel:
Visit the Drotsky website for more information or find our products on www.Agri4All.com.

